
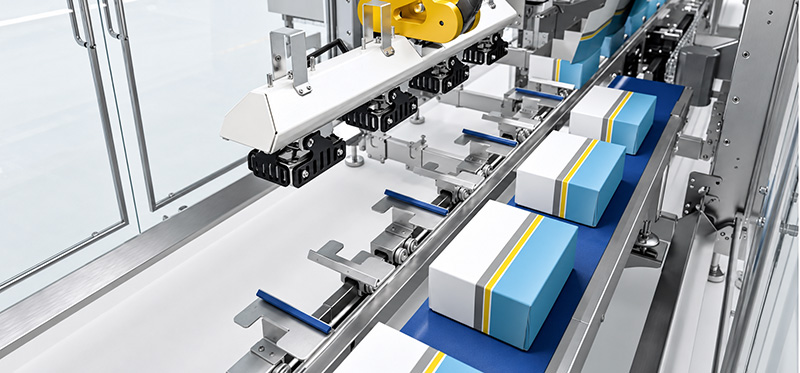
What’s Inside a Cartoner?Let’s Follow One Carton.

In a video, a cartoning machine can look like a stream of cartons moving forward. It’s harder to see where the product comes from, how the leaflet joins it, or what each step needs. Let’s slow it down. Choose a step, drag the progress slider, and change a condition to see how the handoff changes.
Look at carton opening, leaflet supply, product loading, closing, inspection and response, and outfeed as parts of one process.
We use six functions to help you follow it. We’ll confirm the actual hardware, locations, leaflet needs, and inspection logic with your product, sample carton, and machine configuration.
01 / Start with the process, then pick a step
What has to come together to pack one carton?
Let’s look at six functions: opening the carton, supplying a leaflet, loading the product, closing the carton, checking and responding, and handing the carton off. Follow the carton and product, or jump to the step you care about. The actual hardware and layout depend on your model.
Follow one carton through six key functions.
Click an object in the overview or choose a step below. Play, pause, or drag the slider. Then change a condition to see what that step still needs.
On a narrow screen, swipe sideways or open the large view. Demo speed does not represent machine output.
Get your carton ready for loading
Press play to watch the carton change shape.
Step selection and playback become available when the script is ready.
Your sample carton, how it is supplied, and the matching opening setup.
- Check the sample carton and opening setup.
An open carton ready to receive your product.
We’ll check how your model picks, holds, and transfers the carton.
Change conditions and explore the handoff ↓
These are teaching examples. Actual checks, locations, triggers, and responses need to match the machine configuration and be verified.
Six numbered functions help explain the process. They do not mean every machine has six separate units. Dimensions, timing, and product counts are illustrative.
Choose an object or step to explore its motion and handoff conditions. Leaflets are included as needed, and checks may happen at different points. This functional example supports discussion; confirm the actual model using its drawings, footage, and configuration.
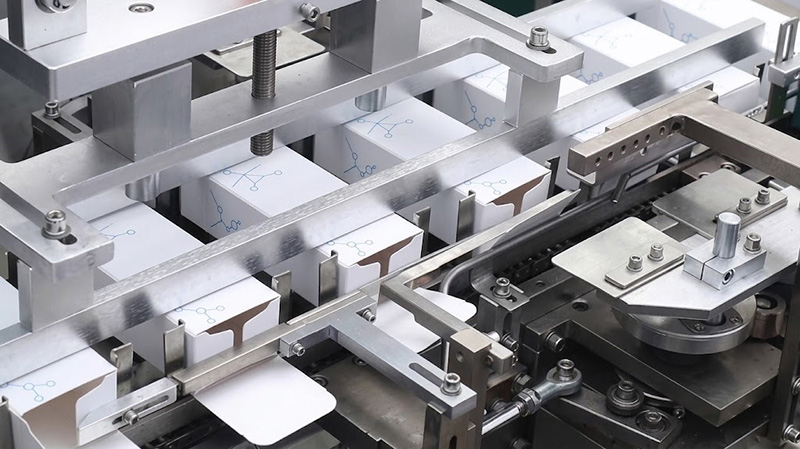
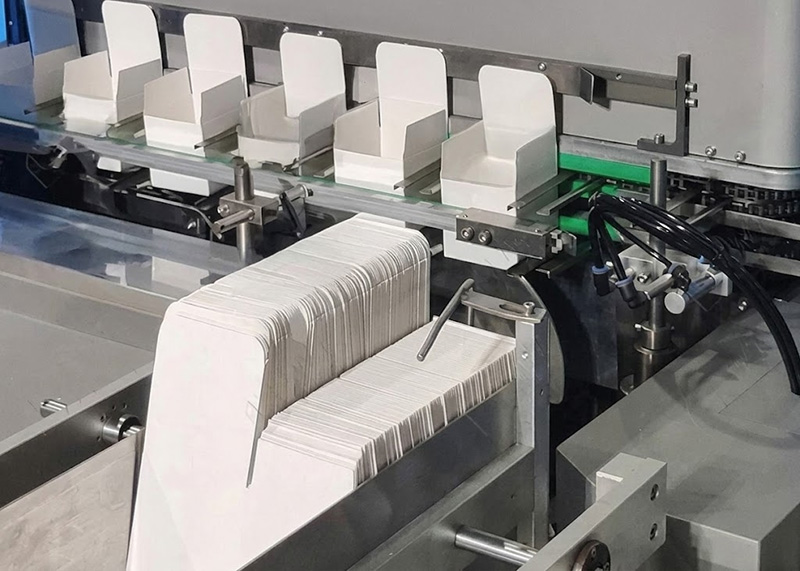
First, watch what moves.
See the carton open, the product move in, the leaflet join, and the closed carton move on.
Then, change a condition.
Set the leaflet to “not ready” or uncheck product readiness. What is the loading step still waiting for?
Now, bring in your pack.
We’ll use your product, sample carton, and required functions to check the hardware and handoffs in your order.
The numbers give you a reading order. Leaflets are included when needed, and checks may happen at several points. We’ll explain your actual setup using the model, configuration, and samples.
02 / Get the carton ready
Carton opening: is your sample ready for the loading step?

We start with how your carton is picked, opened, and held in a loading-ready shape. We’ll check the sample against the opening setup, then look at how it reaches the product-loading step.
A prepared carton gives the loading step something ready to receive the product.
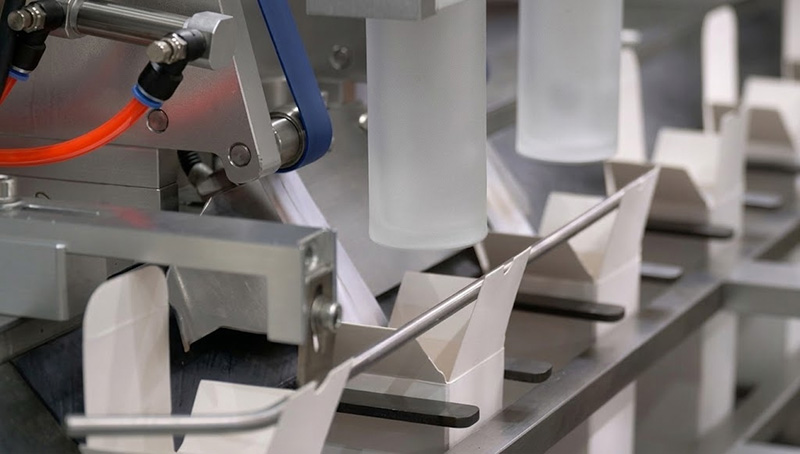
An open-carton concept. The drawing shows carton shape; it does not specify picking or holding hardware, or the actual opening path.
When you watch machine footage, look at where the cartons come from, what shape they take after opening, and how they stay ready before loading. A different carton means we need to recheck those conditions.
If you currently pack by hand, send us the carton you use. We’ll need to review its behavior and run trials with the product to assess machine use. We go deeper into carton suitability in Article 09.
03 / Add the leaflet your pack needs
Leaflet supply: folded already, or arriving as a flat sheet?

First, does your pack need a leaflet? If it does, tell us whether it reaches the machine already folded or as a flat sheet. We’ll check each supply state against the samples, configuration, and loading requirements.
The same leaflet can need a different supply setup.

Flat sheets and folded leaflets are different supply states. Confirm the fold, folded size, supply method, and loading method with your samples and configuration.
Send the leaflet itself, or start with photos and any sizes you know. We’ll look at the flat and folded forms, then check how it joins your product inside the carton. Article 11 covers folding and loading in more detail.
In the interactive diagram, choose “No leaflet needed” to skip this step. Then try “Yes, but the leaflet is not ready” and open the loading step. It’s an easy way to see why the leaflet matters only when your pack calls for one.
04 / Bring the inputs together at loading
Product loading: how do the carton, product, and leaflet meet?

At loading, we look at the prepared carton, the product group, and any required leaflet together. The count per carton, product orientation, arrangement, and sample carton all need to belong to the same pack.
Turn on the transparent view to see how the contents come together.
A product group and an optional leaflet moving into a carton. Counts and paths explain the relationship; confirm the actual loading motion, direction, and hardware for the model.
Tell us what you’re packing, what goes into each carton, and how the product arrives. Any upstream sorting or grouping affects what the cartoner receives. We cover those feeding choices in Article 03.
The motion here makes the product-to-carton relationship easier to see. For your project, we’ll still need the samples, sample carton, and handoff method to verify the arrangement. If the product or carton changes, we’ll recheck the conditions together.
Have a product or sample carton? We can start there. Share photos, drawings, or a short video of the incoming product. If the details aren’t ready, just tell us what you want in each carton.
05 / Match closing to the order
Carton closing: what does your carton need?
Once the product is inside, the carton needs to close in the way its design calls for. We’ll match your tuck, lock-bottom, or glue requirements to the sample, model, and order configuration. Article 02 takes a closer look at closure choices.

For the new servo model covered in this series, the order can specify tuck closure, glue closure, or a version set up for both. Glue is optional. We’ll confirm the sample carton, supply scope, and changeover requirements for the version you order.
The interaction simply shows a carton going from open to closed. Uncheck “Closing setup matches the sample carton” to see why loading the product does not finish every configuration check.
06 / Separate the check from the response
Inspection: what did we find, and what happens next?
A check tells us what was detected. The response tells us what happens after that. Blocking a later action, rejecting a carton, and stopping the machine are different responses. We’ll confirm what is checked, where, what triggers the response, and how it is verified for the configuration.
An “inspection” label alone doesn’t tell you what happens next.
Inspection and response explained in one view. Checks may occur at several points. The scan line and markers do not specify sensors, defect coverage, or a guarantee that every finished carton is acceptable.
Choose “An issue is detected” in the interaction. It first pauses at “response to be confirmed.” Then compare blocking an action, moving a carton off the normal path, and stopping. You can see why we need to discuss those results separately.
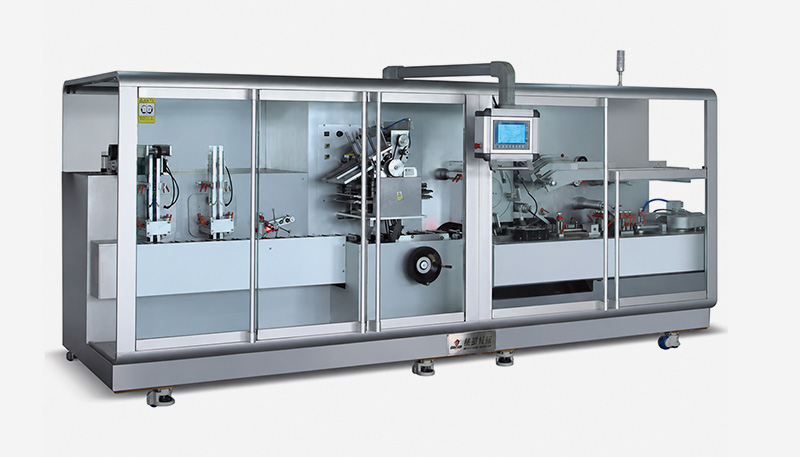
AIPAK’s cartoning machine
For your machine, we’ll ask what is checked, where the issue is found, what action follows, and how that action is verified. Article 08 goes deeper into individual issues and response logic. Here, we’re building a clear way to read the process.
07 / Decide where the carton goes next
Carton outfeed: direction, orientation, and the receiving point.
After the required steps, the carton needs a clear destination. We’ll check its exit direction and orientation alongside your plan for manual collection, transfer, or a handoff to another machine.
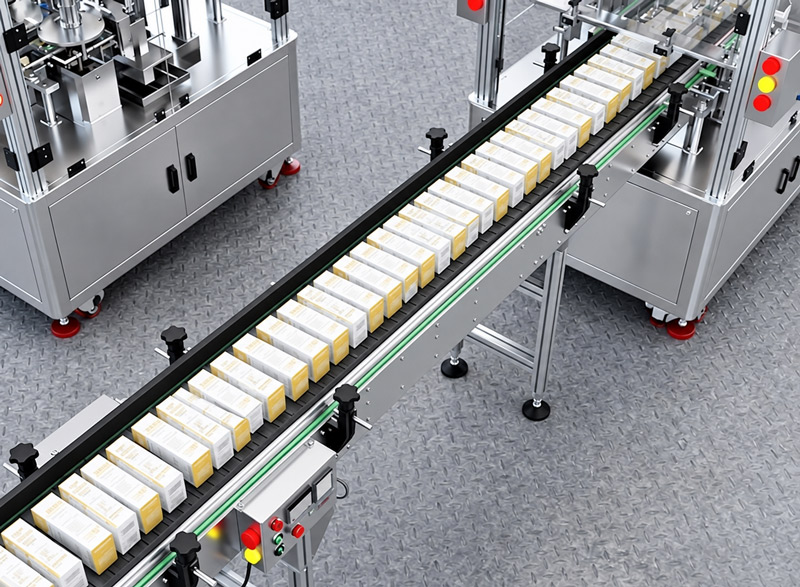
Already have downstream equipment? Tell us where it sits and how it needs to receive cartons. Planning to collect them by hand? Tell us that, too. Coding, checkweighing, and case packing can be discussed around your needs and purchase scope.
The receiving area in the diagram simply means there is an agreed destination. We’ll confirm the height, conveyors, direction, interfaces, and space for the actual plan. Article 06 covers the site-layout discussion.
08 / Check utilities for the full configuration
Air, vacuum, and power: what information do we need?
Start with the actual list of the cartoner and auxiliary equipment. Then collect each item’s utility requirements. Keep compressed air, vacuum, and electrical supply separate, with the values, units, and operating conditions tied to the right equipment.
Keep the three utility categories separate.
Utility information categories. No parameters, site connection design, available capacity, or supplied accessories are specified.
| Utility | What we’ll check | What it needs to cover |
|---|---|---|
| Compressed air | Pressure, consumption/flow, air quality, and operating conditions. | Valid specifications for the cartoner and listed auxiliary equipment. |
| Vacuum, if specified | The equipment, purpose, units, and values, listed separately. | A separate check from compressed-air pressure. |
| Electrical supply | Voltage, phases, frequency, and power requirements. | Each machine in the complete configuration. |
If you have an equipment list or site utility sheet, send it along. We’ll match each requirement to the right item first, then see what’s missing. One figure for the cartoner alone won’t describe the whole setup.
A few more questions
Let’s clear up a few things before you choose.
We use six functions to make the process easier to follow. The hardware, physical locations, and timing depend on the model. Leaflet handling and inspection also depend on the actual configuration.
Choose “No leaflet needed” in the interaction. The walkthrough skips that optional step. For your project, we’ll still need to understand the product, carton, and matching setup.
The final closure has to match the carton design, selected model, and order. Loading and closing work together, but each has requirements we need to confirm.
We need to confirm the check and its response separately. A configuration may block an action, reject a carton, or stop the machine. The conditions and verification need to match that machine’s documentation.
They help you see the functions, moving objects, and handoff conditions. We’ll check actual hardware, directions, locations, and timing against the model’s configuration drawings, footage, and samples.
Yes. Tell us what you’re packing, what goes in each carton, whether you need a leaflet, and which step you want to understand. Add photos or video if you have them. If you don’t, start with a description. We can also discuss carton design and the cartoning approach while your pack is still taking shape.
Start with your product and packaging idea
Share product photos, a carton drawing, a leaflet, or a video of your line running. If you don’t have those yet, tell us what you’re packing, what goes in each carton, and where you’re unsure. Still working on the carton? We can discuss the design and cartoning approach with you.
I have a product and carton.
Let’s look at their actual shapes, pack arrangement, and closure.
I have footage or machine details.
We can review the actions, handoffs, and configuration scope.
I’m still working on the details.
Describe the product and idea. We’ll work through what needs checking.
Start with your question and one way to reach you. Samples, full dimensions, and other details can follow.
Prefer to talk it through?
You can start with: “I’d like to understand how the cartoning steps would work together for our product.”
Table of Contents
Tell us about the product, pack arrangement, carton, and any leaflet. You can start with the step you’re unsure about, even without full details.